After getting a coupon to Costco for $30 off the WD 320GB Passport drive, I decided it was time to upgrade the 250GH HD to a 320.
After getting a coupon to Costco for $30 off the WD 320GB Passport drive, I decided it was time to upgrade the 250GH HD to a 320. I know it’s not that big of a jump, but hey, bigger is better :P. I used SuperDuper! to duplicate the HD first before I opened anything up. For those of you who don’t know, SuperDuper is an AWESOME HD cloning and backup tool for Mac OS. Especially when using it to switch HD’s, it will always maximize the partition size of the larger drive so when the drive actually does get changed, nothing has to be done with the computer to extend the partition. Woohoo!
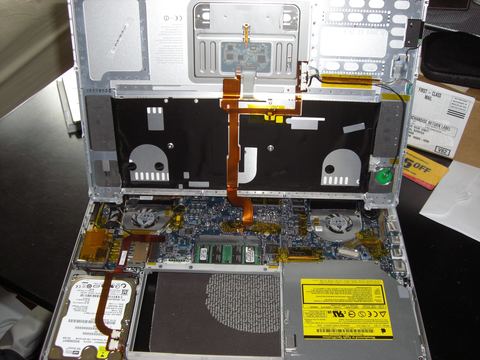
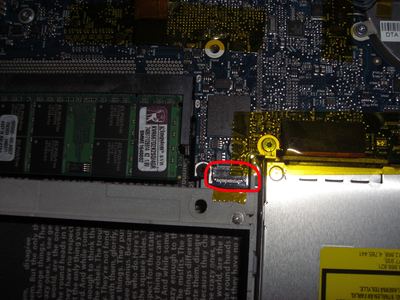
When I opened the case though, I found a port that wasn’t connected to anything and I was wondering what it was for. Anybody have an idea?
Make sure that the drive is formatted using a GUID partition scheme (you may need to reformat your drive to get it in this form). The procedure is the same for an external hard drive, just substitute the iPod partition for the partition on your external hard drive.
So if you’re like me, you like to make legitimate backups of your software and original install discs. I always make an image of the disc using Disk Utility, included in OS X. Well, lets say you made a backup image of the new Mac OS X Leopard 10.5 disc and then accidentally destroy the disc, but you need to install the OS. Disk Utility to the rescue! As long as you have a spare external hard drive (I’m using a USB one in this case), you can extract the image to the HD and boot from it. Here’s how:
Start by creating the disc image of the installation media (this can be DMG, CDR, ISO or any of the disc image formats supported by Mac OS X).
Connect your external drive and launch Disk Utility.
Select the drive in Disk Utility and then select the Partition tab. Make sure that the drive is formatted using a GUID partition scheme (you may need to reformat your drive to get it in this form). (NOTE: If you are going to use a PowerPC based Mac, ie G4 or G5, you need to select Apple Partition Map here. GUID is for Intel Macs ONLY)
Once the drive is in the GUID partition scheme.
Select the Restore tab of Disc Utility and drag the Disk Image for the Installation Media onto the Source field.
Then drag the appropriate partition (in my case, the USB external drive) to the destination field.
Press restore.
Once the restore is complete, launch System Preferences and select Start up Disk. You should now see the external drive listed as a start up disk. Select it and press restart. You can now install as if you had inserted the DVD!
Additional notes:
Plug the HD directly into the computer, not into a Fire wire or USB hub. The installer had trouble finding the internal HD when connected through a USB hub.
This procedure should be the same for previous versions of OS X as well, except for PowerPC versions. PowerPC versions probably need to change the partition format of the drive to Apple Partition Map, but I’m not sure.
Video:Here is a demonstration of using an iPod as the external media. The procedure is the same for an external hard drive, just substitute the iPod partition for the partition on your external hard drive.
Hi everyone. Since there is so much feedback to this article, I’m going to have to close the comments. If you want to chat with me, use my GTalk Widget on the sidebar or send me a message on Twitter. Thanks.